
Games Workshop has spoiled the Guard players lately with the introduction of some very versatile and nice models. I am talking about the new Leman Russ and Leman Russ Demolisher kits and to some extend the new Sentinel and Manticore (even though I must admit that the new Basilisk was a big disappointment). These new miniatures can be built with many different configurations so there is no need for conversions or hybrid (metal/resin and plastic) kits anymore. In order to make the most out of these models we should use a combination of magnetising and pinning the various weapons so we can to field it as any of the different variants.
This is the way I went on and built my Demolisher in order to be able to field it as a Punisher or Eradicator as well. I am not sure if this is the best way but it's just how I did it anyway.
So let's first see a picture of the model withought any of the weapons on:

As you can see I can use different weapons for the main gun, side sponsors and hull as well.
Since the latter are pretty small and light and the pockets are deep enough I realised that I could just pin them in place and they would stay there (unless I was shaking the model very violently but that's not going to happen). Using magnets would be too much of a hassle anyway since there is not much space to work with. Aligning the pin with the hole inside was a little bit tricky but it all worked out in the end. I used a bit of paint on the end of the pin in order to mark the place it would sit after being inserted (some bright lights to be able to see what's going on inside helped a lot too).


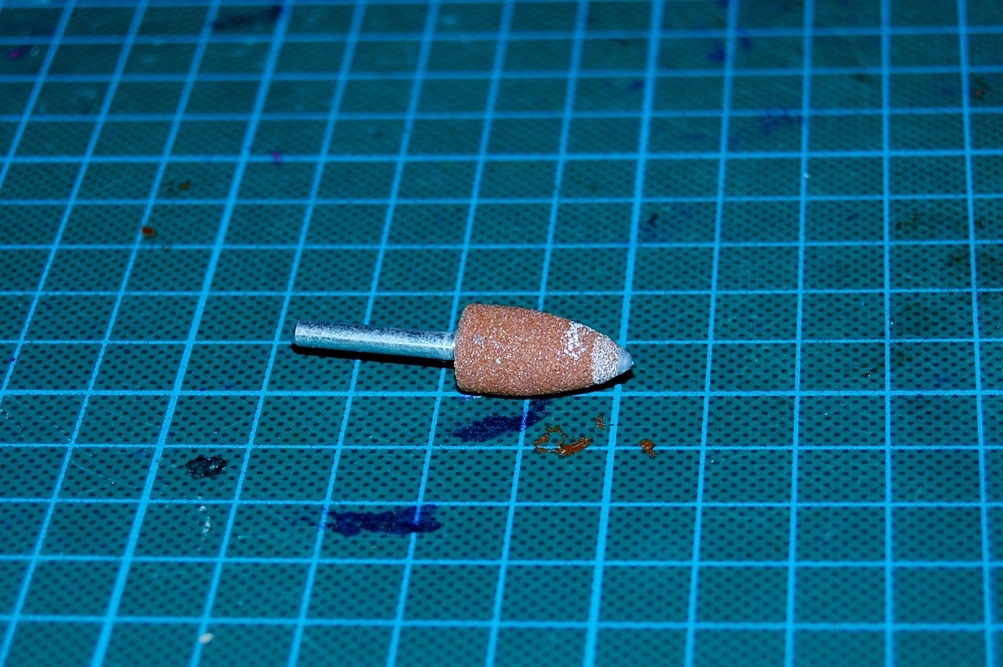
I wanted to use a big enough magnet so that it would stay in place during gaming. Unfortunately there was not enough space for it too fit so I had to make it wider. There was too much material in the way so it would take ages if I used a hobby knife. Fortunately I have a Dremel which sped the whole process. I used this bit to achieve that (you can still see the damage and the melted plastic on it):

I even magnetised the back of the turret because it's different for the Demolisher/Punisher and the Eradicator.


I know, I had a little accident with plastic glue on the turret hatch. It's okay though because I can make it look like rust when I paint it!
So, that's how I magnetised my Demolisher kit. Took me a bit longer to assemble it but at least now I can field it as three different tanks depending on my list tailoring (kidding)!


Nicely executed.I will your idea for my Predator tanks.
ReplyDeleteDamn i forgat to add a ''use''!!!
ReplyDelete"I can make it look like rust when I paint it"
ReplyDeleteI like to believe it's that awareness that makes an average modeller a great one..!
Silky smooth! Simple and effective, my kind of modeling! Nicely explained too. Good work.
ReplyDelete@ War Tales : Ευχαριστώ!
ReplyDelete@ Porky: Usually when something not according to plan happens, instead of panicking I always try to find how to turn that liability into an asset :)
I try to be aware of my errors but sometimes I need people to point them out for me. That why I like to present stuff on the internet :)
@ Fudal : Cheers mate! Hope this helps with a future project. Could you do something like this with Carnifexe's arms?
I always love checking out magnetized models. Yours looks great!
ReplyDelete